Installation & Setup
Thanks for your interest in learning R. For the workshop, we will be using RStudio as our interface to R. In order to participate in this workshop you will need to make sure you have R and RStudio installed on your laptop.
Thanks to the USGS-R Training group and Data Carpentry for making their installation materials available. The following instructions come directly from their materials, with a few minor edits to help you get all set up for the workshop.
Install R and RStudio
R and RStudio are separate downloads and installations. R is the underlying statistical computing environment, but using R alone is no fun. RStudio is a graphical integrated development environment (IDE) that makes using R much easier and more interactive. You need to install R before you install RStudio.
Windows: Download and install R
Go to CRAN and download the R installer for Windows. Make sure to choose the latest stable version (v4.0.2 as of Sept 2020).
Once the installer downloads, Right-click on it and select “Run as administrator”.
Type in your credentials and click yes (or if you don’t have administrator access have your IT rep install with Admin privileges).

You can click next through the standard dialogs and accept most defaults. But at the destination screen, please verify that it is installing it to C:Files(version number may vary)

At the “Select Components” screen, you can accept the default and install both 32-bit and 64-bit versions.

At this screen, uncheck ‘Create a desktop icon’ because non-admin users in Windows will be unable to delete it.

Windows: Download and install RStudio
Double-click the installer. It will ask for your administrator credentials to install (you might need to have your IT rep install again).
Accept all the default options for the RStudio install.

macOS: Download and install R
macOS: Download and install RStudio
- Go to the RStudio download page
- Under Installers select RStudio x.yy.zzz - Mac OS X 10.6+ (64-bit) (where x, y, and z represent version numbers)
- Double click the file to install RStudio
- Once it’s installed, open RStudio to make sure it works and you don’t get any error messages.
Check Install
Open RStudio
Once installed, RStudio should be accessible from the start menu. Start up RStudio. Once running it should look something like:

Find “Console” window
By default the console window will be on the left side of RStudio. Find that window. It will looking something like:

Copy and paste the code
Click in the window and paste in the code from below:
version$version.stringVerify your installed R version
Ideally you should be running the latest stable release (v4.0.2 as of Sept 2020). If you have an older version, please install the newest version using the instructions above.
Here is what my R version looks like.
## [1] "R version 4.0.2 (2020-06-22)"Add Packages
Install packages available for all R users from CRAN by pasting the following code and hitting ENTER. You may see a message There are binary versions available but the source versions are later: followed by a list of the packages you are trying to install. This is usually followed by this message Do you want to install from sources the package which needs compilation? (Yes/no/cancel). After that message you will typically want/need to type “Yes”.
install.packages("tidyverse")
install.packages("sf")
install.packages("mapview")
install.packages("viridis")
install.packages("USAboundaries")
install.packages("openxlsx")
install.packages("readxl")
install.packages("lubridate")
You may see this:

That’s OK! There’s a dialog box hiding behind RStudio asking if you want to create a personal folder in your Documents folder. Click Yes. It will look something like this when done:

Grab the Sample Datasets
We’ll be working with some California bioassessment data for this workshop. The bioassessment data are available as three separate csv files that describe scores for the California Stream Condition Index (CSCI), the Algal Stream Condition Index (ASCI), and a separate file for station locations. These files include scores at over 2000 locations and are a portion of the data used to develop the indices.
ascidat.csv: ASCI index datacscidat.csv: CSCI index datalatlon.csv: Station location data
Download the zipped file of all the data from this link. Unzip the content into a folder on your computer that you can access for the workshop.
Exercise 1
Just to make sure each package installed successfully, do the following:
- Open up RStudio.
- Find the “Console.” This is usually the left part RStudio.
- In the “Console”, find the R Prompt (the part that starts with
>) - Type in (or copy and paste from here will also work) the following command at the R Prompt and hit return.
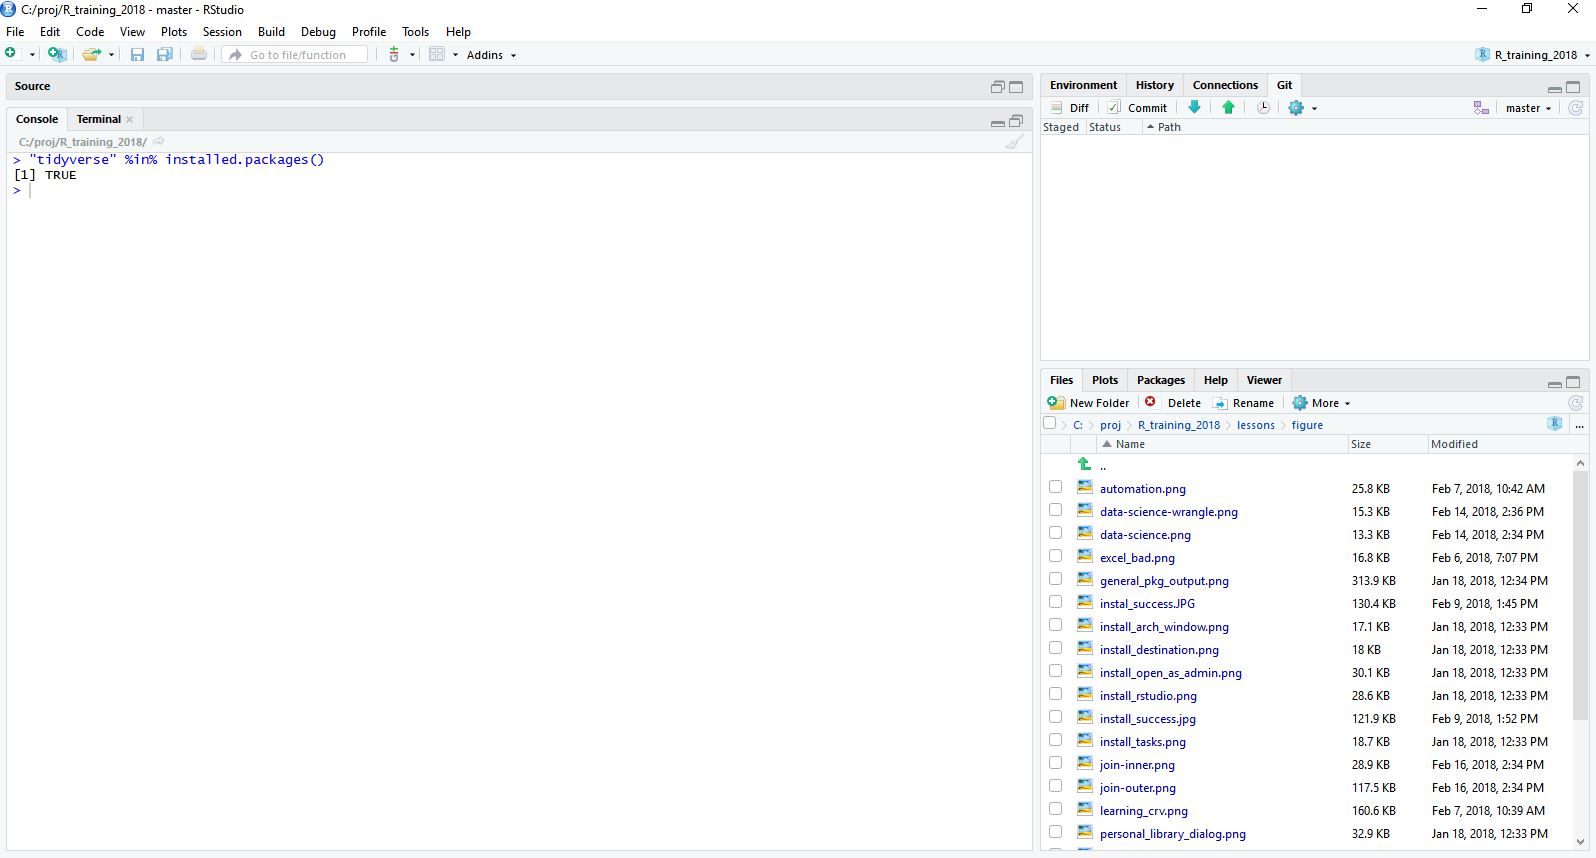
# check that these packages are installed successfully:
c("tidyverse", "sf", "viridis", "mapview", "USAboundaries") %in% installed.packages()
## [1] TRUE TRUE TRUE TRUE TRUEIf you have successfully installed packages, you should see a list of “TRUE” repeated once for each package listed inside the c( ). Below is an example of a single package and TRUE